9 pages 0 emails
9 Screenshots
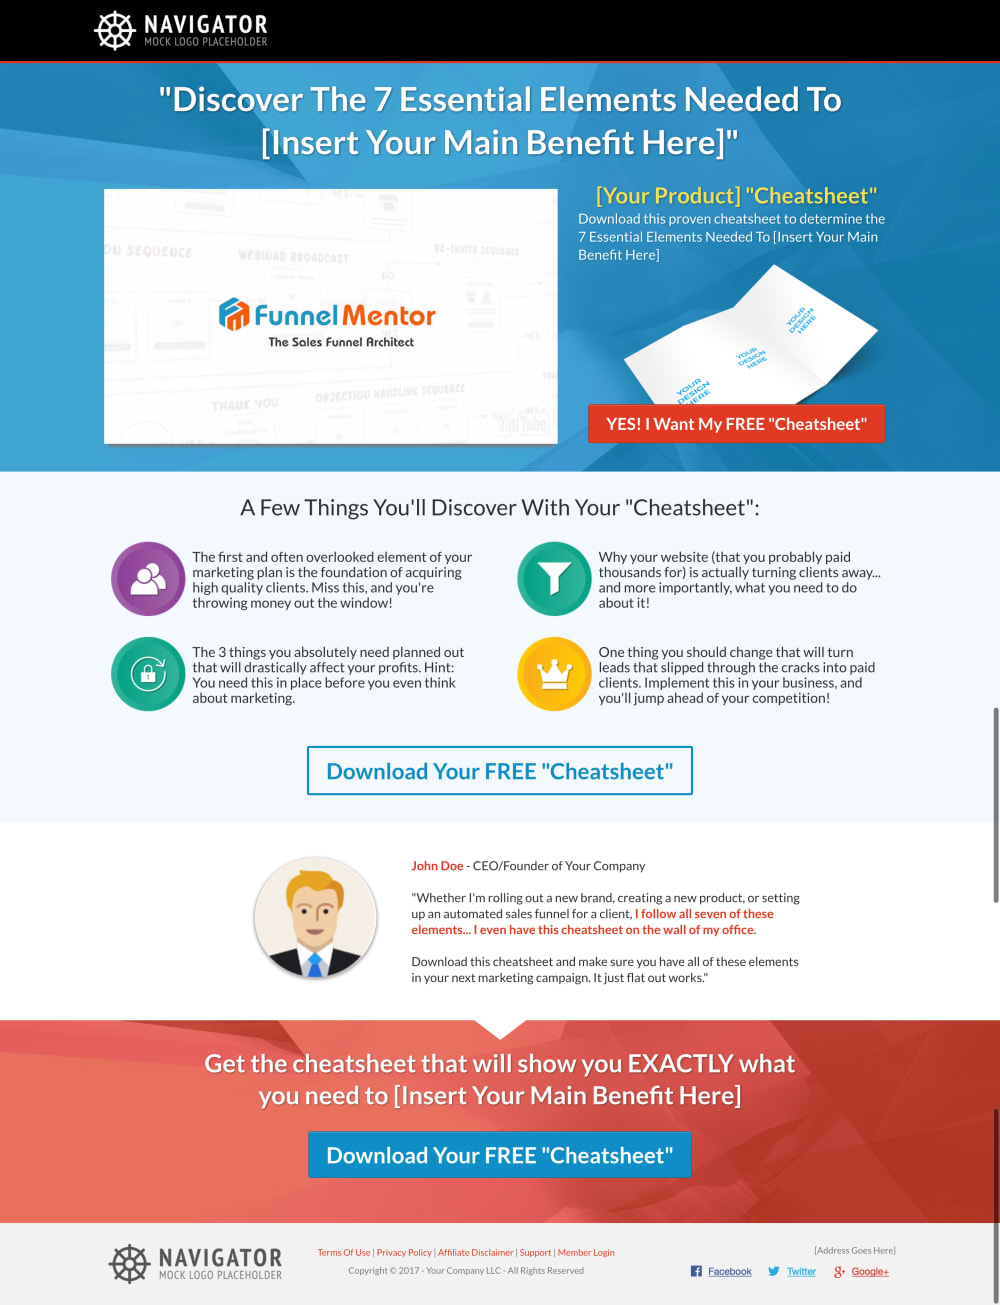
Optin Page with Video
This is the main opt-in page which contains a video, a benefits area, testimonial area, and pop-up opt-in. This is the page that determines your "Qualified Subscribers". (CLICK ON IMAGE TO SEE ENTIRE PAGE) .
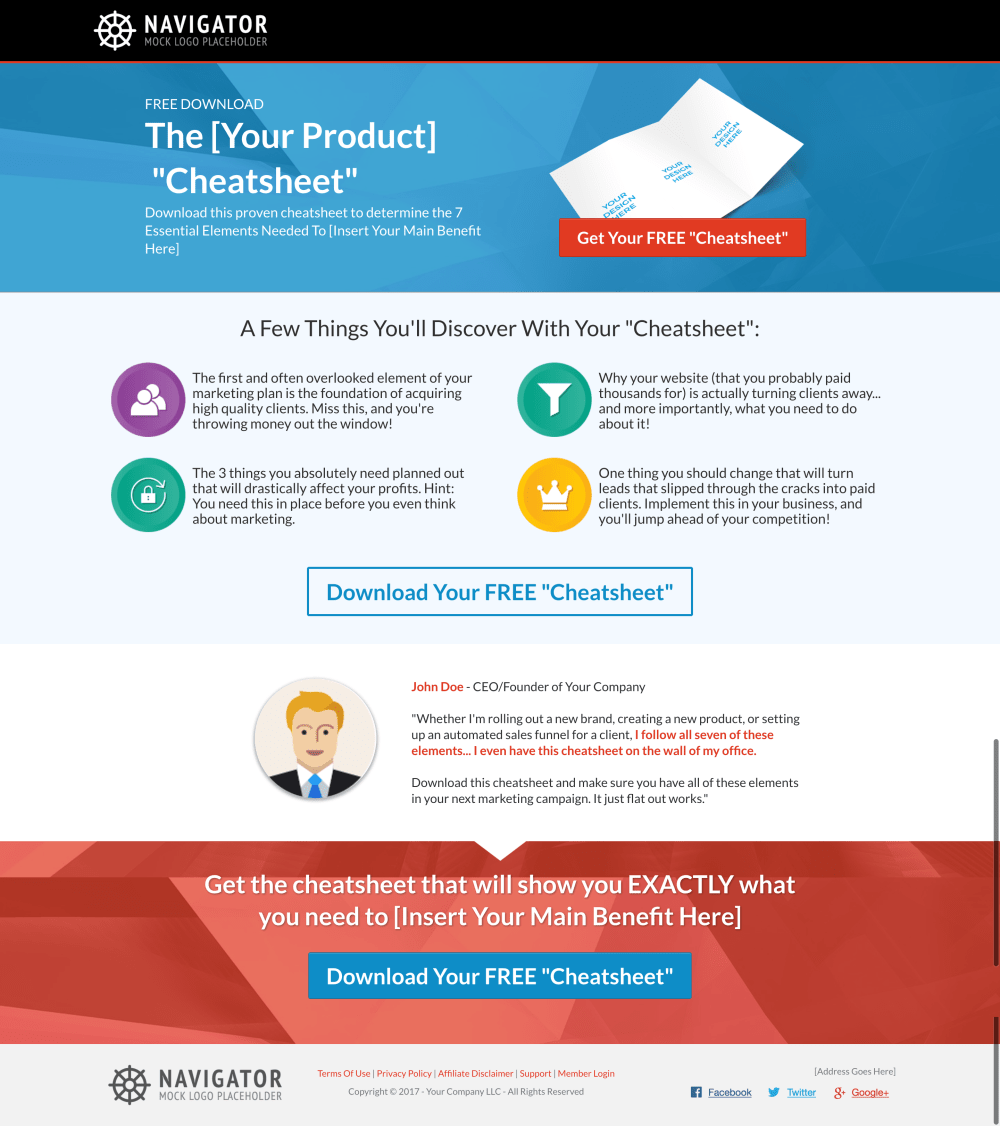
Optin Page without Video (Split Test Page)
This is the split test opt-in page which contains a benefits area, testimonial area, and pop-up opt-in. This is the page that determines your "Qualified Subscribers". (CLICK ON IMAGE TO SEE ENTIRE PAGE) .
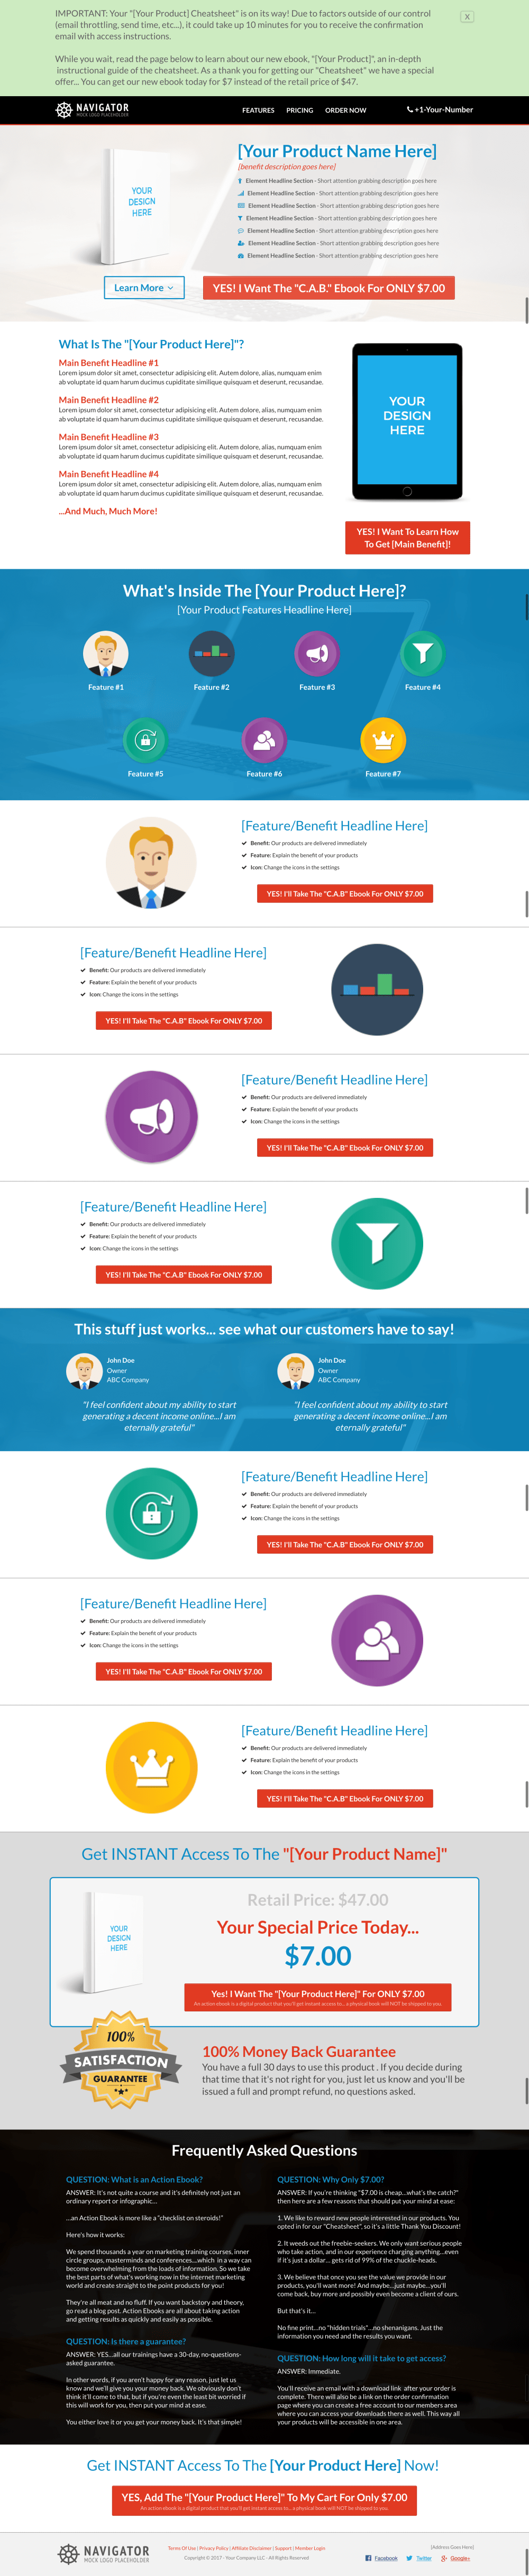
Long Form Sales Page
This is a long form sales page with benefits area, 7 features area, testimonials area, pricing area, FAQ area, and navigation to features, pricing & order page. (CLICK ON IMAGE TO SEE ENTIRE PAGE) .
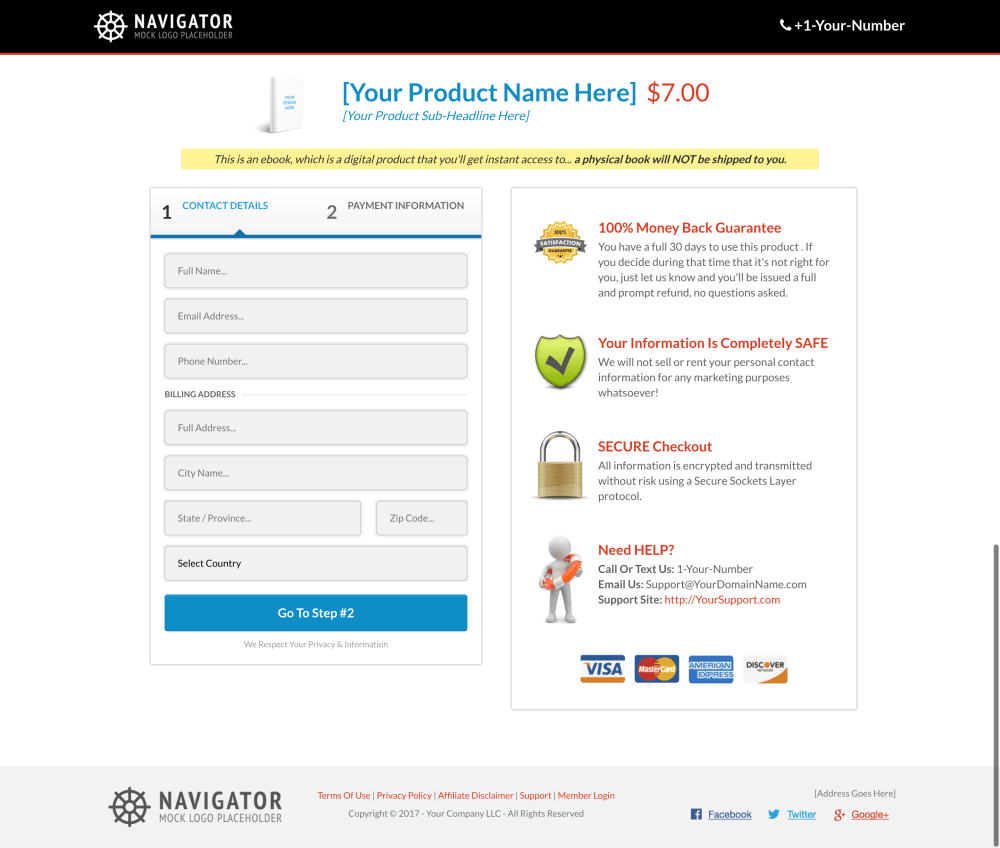
Order Page
This is a nice and clean 2 step order form, which step 2 has a bump offer available if needed (it's a great way to offset your ad spend). Having a 2 step order form is great to prevent cart abandonment... if the customer fills out step 1, then never enters their credit card info in step 2, you can create a follow up sequence that would encourage them to go back and complete their purchase. This page also clearly shows guarantee, privacy, security, and help info. This is the page that determines your "Qualified Buyers". (CLICK ON IMAGE TO SEE ENTIRE PAGE)
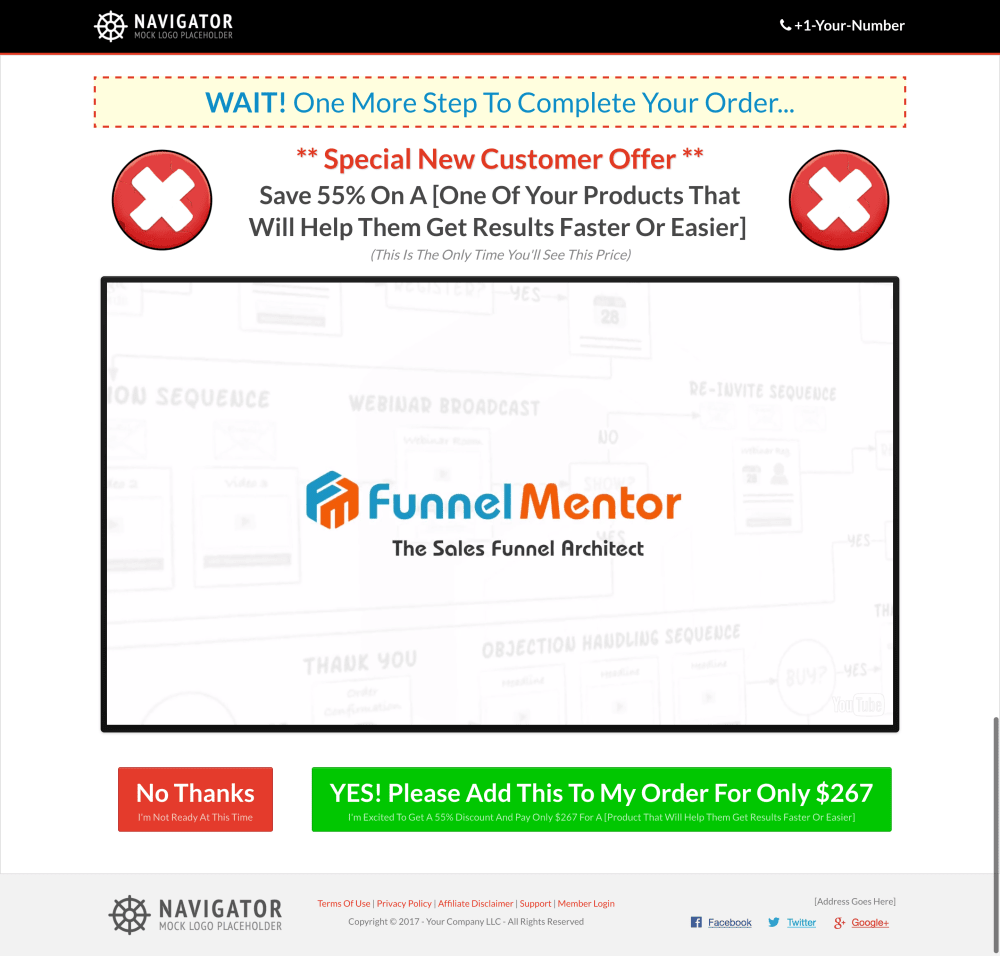
Upsell Page (OTO)
This is the page seen immediately after they click submit on the order page. It's the Upsell page (also known as OTO), and usually will be a product or service that's priced higher than original offers and helps them achieve results faster or easier. It has a video area where you can explain your offer and they can add this one-time-offer with the click of a button. This is the page that determines your "Hot Buyers" (CLICK ON IMAGE TO SEE ENTIRE PAGE)
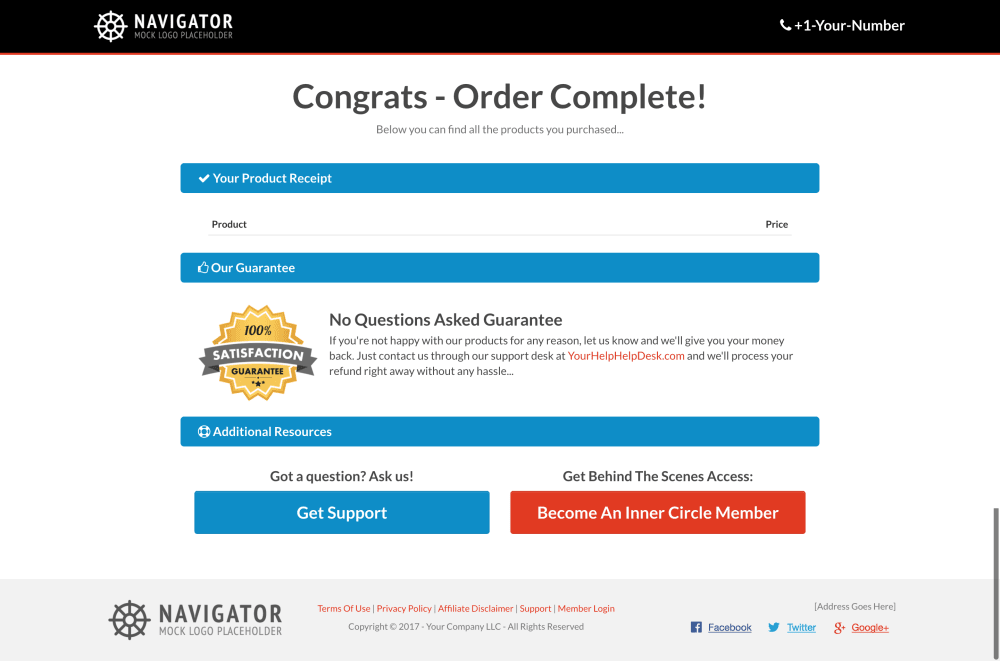
Order Confirmation Page
This is the page the customers will access their purchases after they click "Yes" or "No" on the upsell page. There will be links to each of the products they purchased as well as the price they paid for each. (CLICK ON IMAGE TO SEE ENTIRE PAGE) .
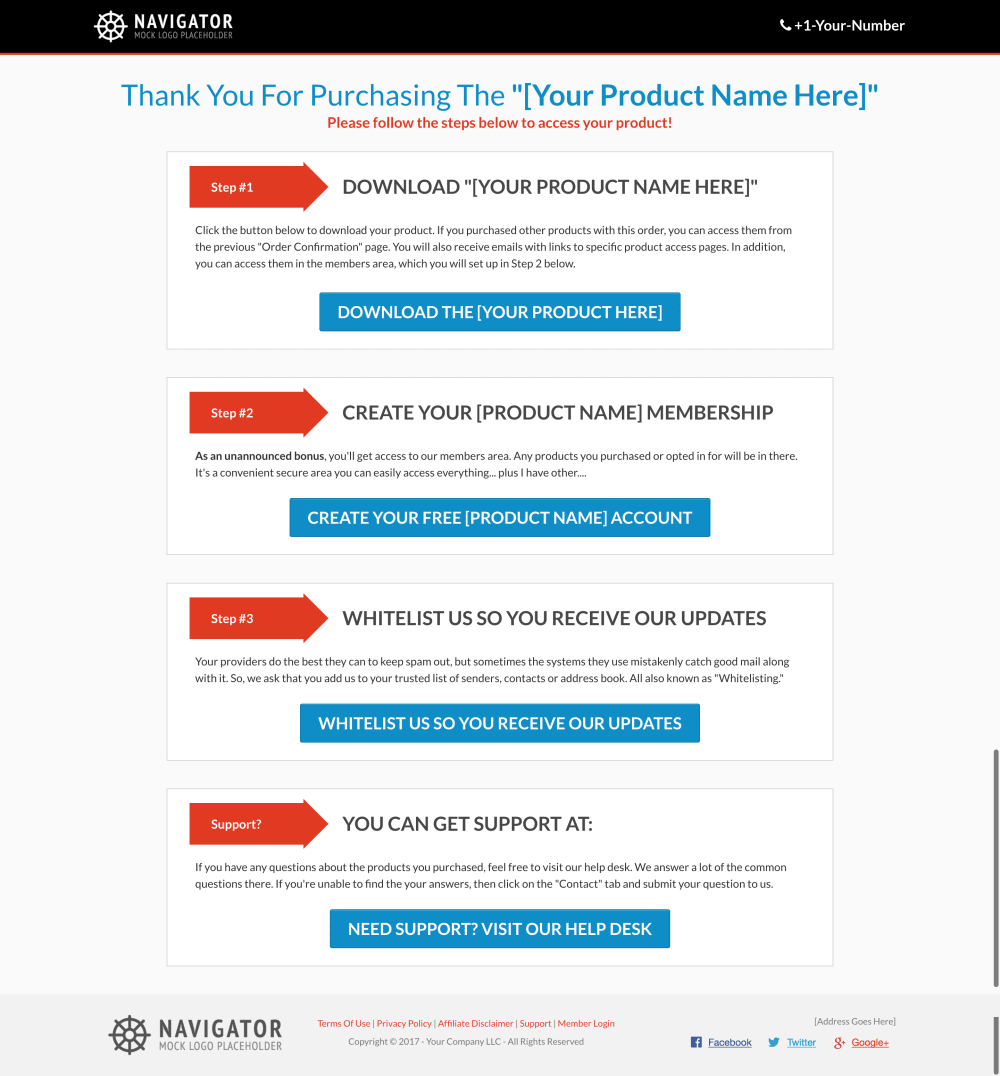
Order Thank You Page
This is the page customers will download their product they just purchased. When they click on the "Access Product" link on the Order Confirmation page, they will be taken to this page. You can duplicate this page for each product in your funnel, that way they only get access to what they purchased. (CLICK ON IMAGE TO SEE ENTIRE PAGE)
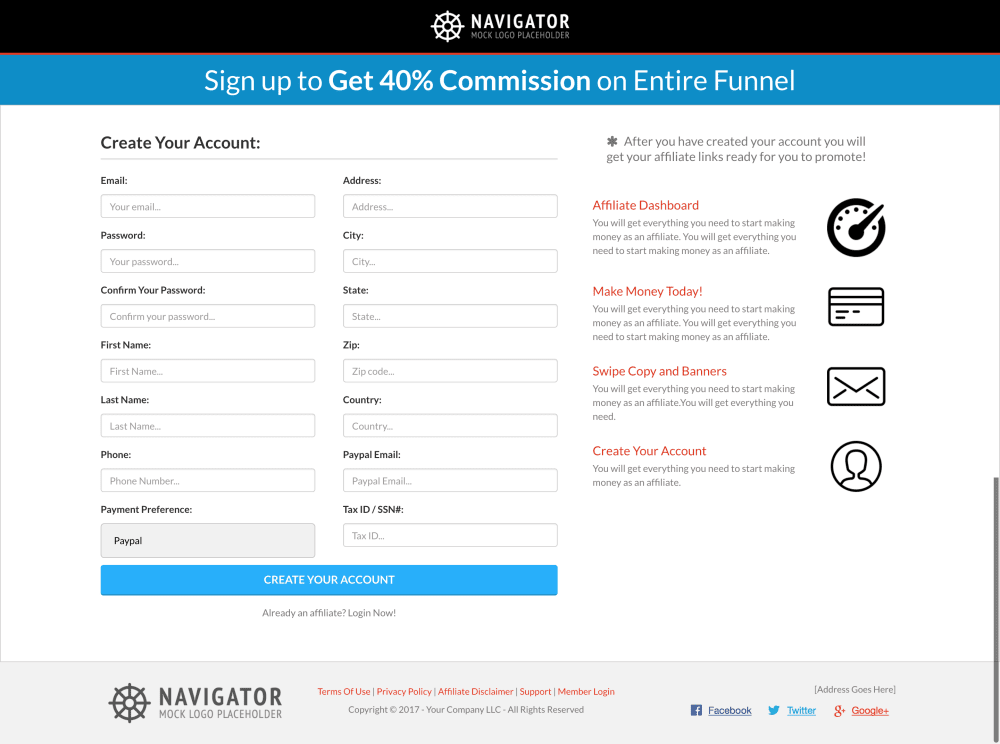
Affiliate Access Page
As a bonus, I included the affiliate pages if you want to have affiliates help promote your products. This is the access page where your JV partners would sign up for your affiliate program. This page will only be useful if you're using Backpack in Click Funnels. (CLICK ON IMAGE TO SEE ENTIRE PAGE) .
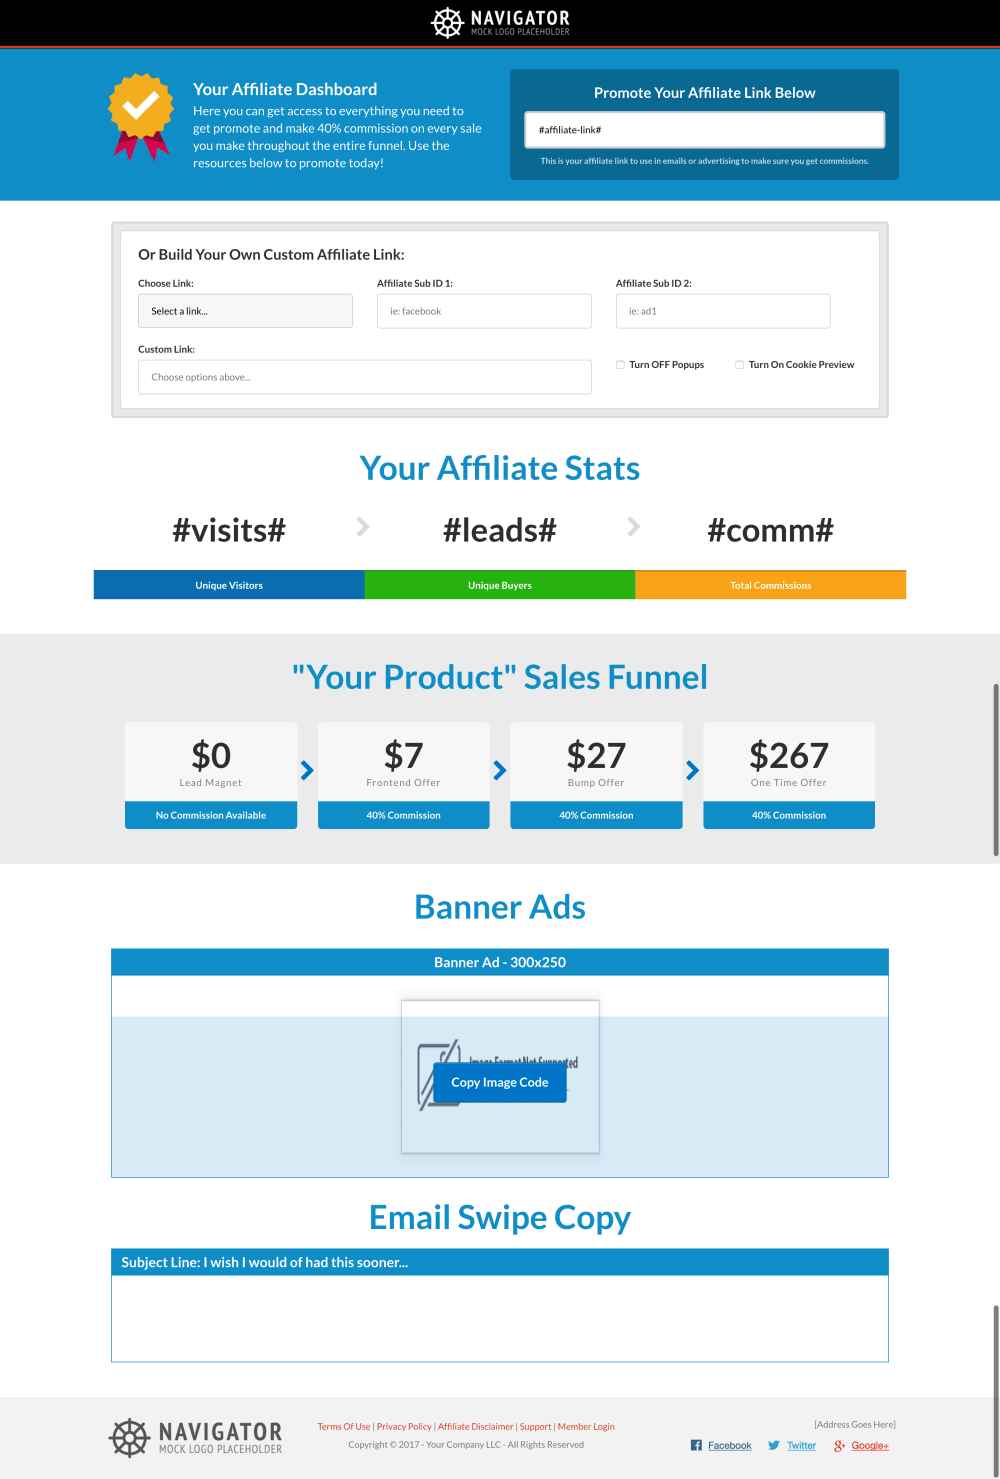
Affiliate Area Page
As a bonus, I included the affiliate pages if you want to have affiliates help promote your products. This is the affiliate area where your JV partners would access their specific links to promote your products. You could also have your banner images and email copy here. This page will only be useful if you're using Backpack in Click Funnels. (CLICK ON IMAGE TO SEE ENTIRE PAGE)
Frequently asked questions
- Can I Reuse Any Images/Videos Inside This Funnel?
- Yes. But I would hope that you would be using your own content considering this site is about your work, not mine. But you are free to use anything in this site if you choose to do so, as all images are created by me or are images I got through ClickFunnels image area.
- Is there any custom CSS or HTML/JavaScript in the funnel?
- No. There isn't any custom tracking codes, just the standard code created by ClickFunnels on the "Order Confirmation" page.
- What will I have to change in the funnel to make it work for me?
- 1. Setup your SEO on each page. 2. Add footer links and address information to each page. 3. Swap out the logo, all photos, videos and copywriting with your own. 4. Add your integrations (email and payment gateway). 5. Add your product/service to the Order form and OTO pages. 6. Add links to the buttons on the bottom of your "Order Confirmation" page 7. Add links to the buttons on your "Order Thank You" pages for your products and other buttons you'd like to use. 8. Add any automation to any funnel steps, or add action funnels if you have Actionetics. 9. If using Backpack, set up all affiliate info in Backpack as well as on your 2 Affiliate pages. See training tutorials in Click Funnels help area.